
To ensure a successful germination process, native seeds require specific environmental cues such as light, temperature, and moisture. Some seeds require exposure to heat or cold temperatures to break their dormancy. Others require specific soil microbes to break down their seed coat and allow for germination. These specific requirements can make native seeds more challenging to grow than non-native plants. However, growing native plants is essential for maintaining the biodiversity of our ecosystems.
TYPES OF TREATMENT
Stratification
Seed stratification is a process that helps to break the seed’s dormancy, allowing it to germinate and grow. Here are the steps for seed stratification:
- Collect the seeds you want to stratify.
- Clean your seeds. Remove any chaff or debris from the seeds.
- Choose your stratification method. Cold stratification is the most common method used for most types of seeds.
- Cold moist stratification: Place your seeds in a container with a moistened medium, such as sand or peat moss. Seal the container and place it in a refrigerator for the recommended period of time. The length of time can vary depending on the seed.
- Warm stratification: Place your seeds in a container with a moistened medium and place it in a warm location, such as on top of a refrigerator or in a heated greenhouse. Again, the length of time can vary depending on the seed.
- Moist stratification: This method involves placing the seeds in a container with a moistened medium and keeping it in a location with high humidity. This method is typically used for seeds that require a shorter stratification period.
- Check your seeds regularly. Make sure the medium stays moist and that mold or other issues are not developing.
- After the recommended stratification period, remove the seeds from the container and plant them according to their specific requirements.
Scarification
Scarification is a process of breaking or weakening the seed coat to help the seed germinate faster. There are a few methods of scarification, and the choice of method depends on the seed species. Here are some common methods:
- Mechanical scarification: This involves physically breaking or scratching the seed coat. You can use sandpaper to rub the seed lightly until the coat is slightly damaged. Alternatively, you can nick the seed coat with a knife or scissors, being careful not to damage the embryo inside.
- Hot water scarification: This method involves soaking the seeds in hot water for a short period. Place the seeds in a container, pour hot water over them and let them soak for a few hours. The water should be hot, but not boiling, and the soaking time should not exceed 24 hours.
- Acid scarification: This method involves using an acid solution to weaken the seed coat. You can use a weak solution of sulfuric acid or nitric acid. Soak the seeds in the solution for a few minutes, then rinse them thoroughly with water.
PLANTING METHODS
Natural Stratification
Natural stratification is the gardening method of directly sowing seeds outdoors either in the fall, winter or early spring.
Winter Sowing
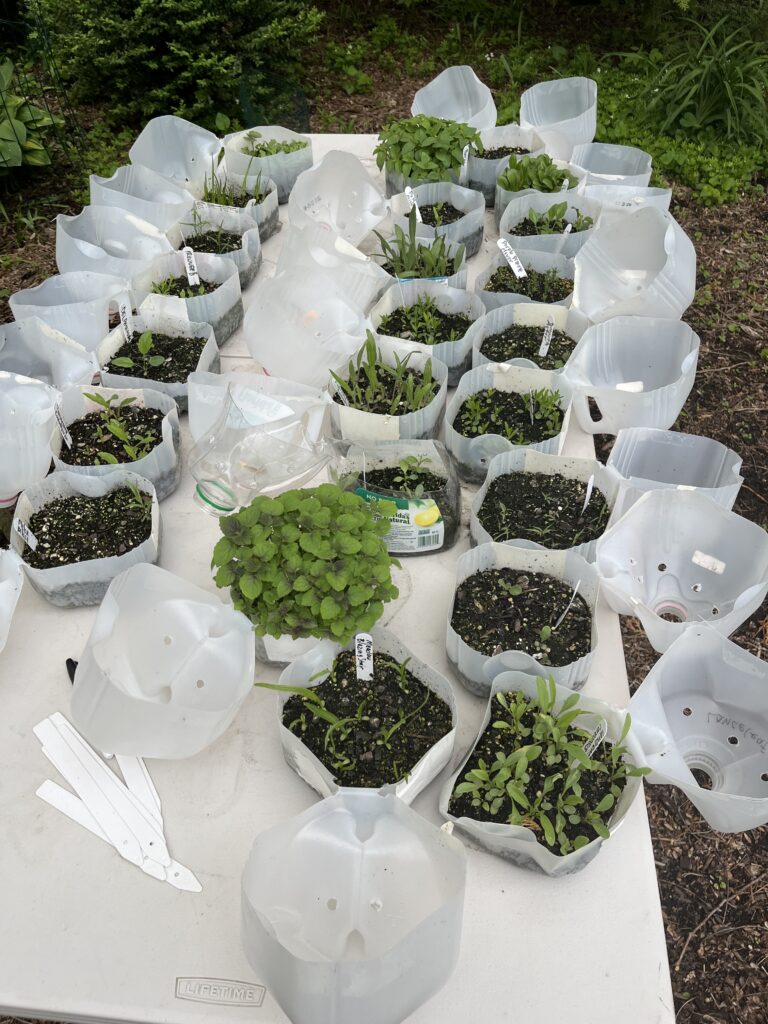
Winter sowing is a gardening method that involves sowing seeds outdoors during the winter months in a mini greenhouse. This method is particularly useful for seeds that require a cold stratification period that is needed to break seed dormancy, hence, mimicking nature.
Here are the steps to follow for winter sowing:
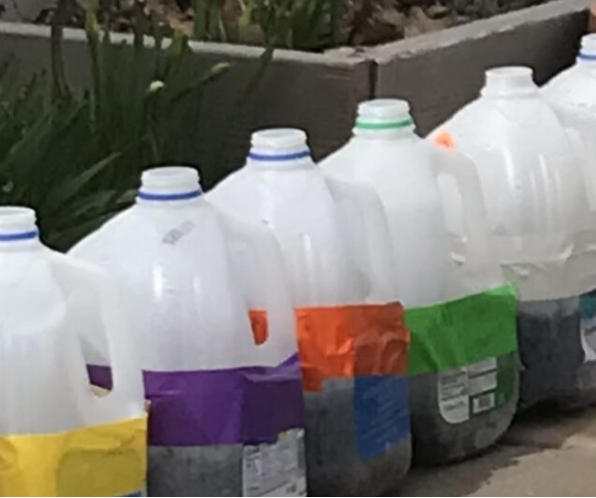
- Materials: You will need clear or translucent plastic containers such as milk jugs or water bottles (with or without caps), a utility knife or scissors, potting soil, seeds, and tape.
- Prepare containers: Cut the containers in half and poke several drainage holes in the bottom Fill the bottom of the container with potting soil.
- Plant seeds: Follow the instructions on your seed packet for planting depth and spacing. Cover the seeds with soil and water gently . NOTE: Seeds that need light to germinate would not be covered with soil.
- Label Containers: Write the name of the plant and the date of planting on a piece of tape and attach it to the container. It is also a good idea to place a stick label inside.
- Create Mini Greenhouse: Close the container and tape the top and bottom halves together. Remove the cap or poke several holes in the top of the container for ventilation.
- Place Outside: Place the containers outside where they will receive water from rain or snow and away from strong winds. The seeds will remain dormant until the weather warms up in the spring.
Monitor: Check the containers periodically for moisture and ventilation. Once the weather warms up, the seeds will germinate and grow into seedlings. At this point, you can take off the top halves, and within a few weeks, transplant them into larger containers or directly into your garden.